
당신은 주제를 찾고 있습니까 “samsung galaxy s7 edge ekran wymiana – ★Galaxy S7 Edge Screen Replacement. Very Easy★ 2017 ★ HD ★“? 다음 카테고리의 웹사이트 https://th.taphoamini.com 에서 귀하의 모든 질문에 답변해 드립니다: https://th.taphoamini.com/wiki/. 바로 아래에서 답을 찾을 수 있습니다. 작성자 AmazingMakiChannel 이(가) 작성한 기사에는 조회수 2,561,239회 및 좋아요 7,239개 개의 좋아요가 있습니다.
Table of Contents
samsung galaxy s7 edge ekran wymiana 주제에 대한 동영상 보기
여기에서 이 주제에 대한 비디오를 시청하십시오. 주의 깊게 살펴보고 읽고 있는 내용에 대한 피드백을 제공하세요!
d여기에서 ★Galaxy S7 Edge Screen Replacement. Very Easy★ 2017 ★ HD ★ – samsung galaxy s7 edge ekran wymiana 주제에 대한 세부정보를 참조하세요
-Galaxy S7 Edge Glass Only Replacement – FULL GUIDE (success) part 1/2
https://youtu.be/vILPyE1rQl4
-Galaxy S7 Edge Glass Only Replacement – FULL GUIDE (success) part 2/2
https://youtu.be/fwmYSxQwgjY
Samsung Galaxy S7 Edge Screen Repair.
Warning:
You are performing this repair at your own risk
We claim no responsibility for any damages that might occur
Find the premium tools used during this DIY repair here: https://rover.ebay.com/rover/1/724-53478-19255-0/1?icep_id=114\u0026ipn=icep\u0026toolid=20004\u0026campid=5337976584\u0026mpre=http%3A%2F%2Fwww.ebay.it%2Fitm%2FDISPLAY-LCD-SCHERMO-TOUCH-SCREEN-Samsung-Galaxy-S7-Edge-G935-ORIGINALE-ORO-%2F322474722087%3Fhash%3Ditem4b14fdc327%3Ag%3AVtoAAOSwB-1Y5TOz
Step 1
Power down your Samsung Galaxy S7 Edge phone.
Step 2 (Samsung Galaxy S7 Edge SIM Card and microSD Card Tray)
Remove the Nano SIM card and microSD card tray.
Step 3 (Samsung Galaxy S7 Edge Rear Panel)
The Samsung Galaxy S7 Edge rear panel is glued on solidly and is a tight fit within the frame. Apply heat to soften the adhesive.
With the precision knife create enough space to insert a playing card.
Use playing cards to slice through the adhesive and help carefully separate the rear panel from Galaxy S7 Edge phone. Apply additional heat as needed.
Step 4 (Samsung Galaxy S7 Edge Antennas, Wireless Charging Coil and Loudspeaker)
Remove the following 12 Phillips screws.
With the spudger, pry up and remove the 3 modular pieces. These individual components are connected to the motherboard by way of tiny spring contacts, they include the S7’s antennas, loudspeaker, and wireless charging coil.
Step 5 (Samsung Galaxy S7 Edge Battery)
Detach the S7Edge battery from the motherboard.
The battery is well wedged and adhered in place. Use triangle opening tools to work around the battery and set it free from the adhesive securing it to the frame.
Remove the 3000 mAh Galaxy S7 Edge battery from the phone.
Step 6 (Samsung Galaxy S7 Edge Motherboard)
Disconnect the bevy of cables from the Galaxy S7 Edge motherboard.
Lift up the motherboard and detach the daughterboard connector on its underside, then remove it from the smartphone.
Step 7 (Samsung Galaxy S7 Edge Front-Facing Camera and Rear-Facing Camera)
Detach and remove the S7 Edge 5-megapixel front-facing selfie camera.
With the spudger, detach the 12-megapixel Galaxy S7 Edge rear-facing camera and remove it from the motherboard.
Step 8 (Samsung Galaxy S7 Edge Vibrator, Earpiece Speaker and
With the tweezers, carefully remove the S7 Edge spring-contact applied vibrator.
Pry up and remove the earpiece speaker.
Use the tweezers to peel up and remove the proximity sensor, ambient light and notification LED cable.
Step 9 (Samsung Galaxy S7 Edge Power Button Cable and Volume Buttons Cable)
Remove the power button cable, and then the bracket from the side of the S7 Edge frame.
Utilizing the tweezers, pry up the volume buttons cable, followed by the small bracket, and remove them from the S7 Edge phone.
Step 10 (Samsung Galaxy S7 Edge Headphone Jack)
Disconnect the signal cable and headphone jack cable from the S7 Edge daughterboard.
Remove the following Phillips screw.
Easily remove the S7 Edge headphone jack, complete with rubber seal.
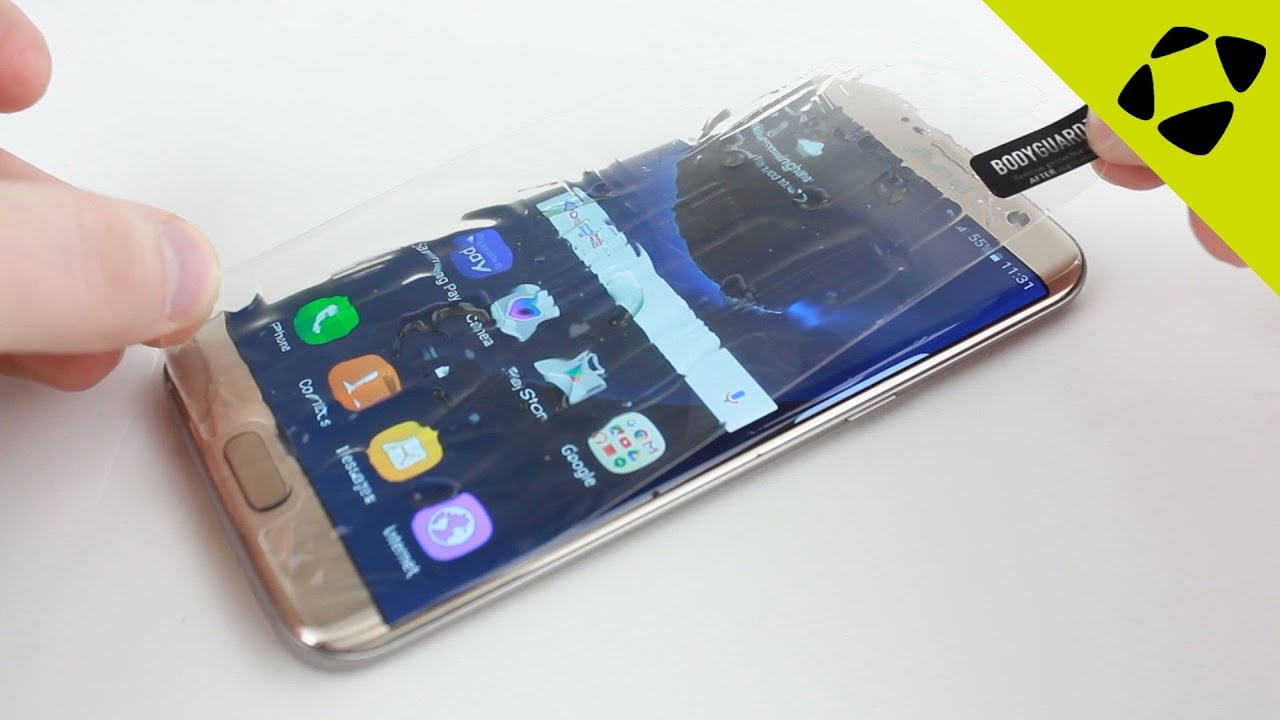
Step 11 (Samsung Galaxy S7 Edge LCD Screen and Digitizer Assembly)
Use the heat gun warm up the adhesive securing the Galaxy S7 Edge LCD and digitizer assembly to the frame.
With the precision knife, carefully create separation and insert a playing card to start slicing through the adhesive.
Take your time and apply additional heat as needed.
Once you have sliced through the adhesive, be mindful of the home button and bottom soft buttons when decoupling the S7 Edge display assembly from the frame.
Step 12 (Samsung Galaxy S7 Edge Home Button)
Peel up the adhesive securing the S7 Edge home button cable to the frame.
Feed the cable thru the frame and remove the home button.
Step 13 (Samsung Galaxy S7 Edge Micro USB Port, Microphone and Soft Button Cables)
Peel up the S7 Edge soft button LED cables.
Remove the following 2 Phillips screws.
With the tweezers, carefully remove the Samsung Galaxy S7 Edge micro USB Port assembly from the frame. The assembly also includes the primary microphone and soft button cables.
▬▬▬▬▬▬▬▬▬▬▬▬▬▬▬▬▬▬▬▬▬▬▬▬▬▬▬▬▬
►Iscrivetevi al mio Canale AmazingMakiChannel!
►► https://www.youtube.com/channel/UCfdshv8FTlcpnRAAc48lQ0w?sub_confirmation=1
▬▬▬▬▬▬▬▬▬▬▬▬▬▬▬▬▬▬▬▬▬▬▬▬▬▬▬▬▬
████──░█░████
█──█──████──████
█──█──█──█──█──████████
█──█──████──█──█──────█
█──█──█──█────██──██──█
█──████──█──█──█──────█
█─────█──█──█──█──█████
███████──████──█──────█
──────████──██████████
░░░░░░░░░░░░▄▄
░░░░░░░░░░░█░░█
░░░░░░░░░░░█░░█
░░░░░░░░░░█░░░█
░░░░░░░░░█░░░░█
███████▄▄█░░░░░██████▄
▓▓▓▓▓▓█░░░░░░░░░░░░░░█
▓▓▓▓▓▓█░░░░░░░░░░░░░░█
▓▓▓▓▓▓█░░░░░░░░░░░░░░█
▓▓▓▓▓▓█░░░░░░░░░░░░░░█
▓▓▓▓▓▓█░░░░░░░░░░░░░░█
▓▓▓▓▓▓█████░░░░░░░░░█
██████▀░░░░▀▀██████
samsung galaxy s7 edge ekran wymiana 주제에 대한 자세한 내용은 여기를 참조하세요.
주제와 관련된 이미지 samsung galaxy s7 edge ekran wymiana
주제와 관련된 더 많은 사진을 참조하십시오 ★Galaxy S7 Edge Screen Replacement. Very Easy★ 2017 ★ HD ★. 댓글에서 더 많은 관련 이미지를 보거나 필요한 경우 더 많은 관련 기사를 볼 수 있습니다.
주제에 대한 기사 평가 samsung galaxy s7 edge ekran wymiana
- Author: AmazingMakiChannel
- Views: 조회수 2,561,239회
- Likes: 좋아요 7,239개
- Date Published: 2016. 12. 26.
- Video Url link: https://www.youtube.com/watch?v=5euux3-RKQw
키워드에 대한 정보 samsung galaxy s7 edge ekran wymiana
다음은 Bing에서 samsung galaxy s7 edge ekran wymiana 주제에 대한 검색 결과입니다. 필요한 경우 더 읽을 수 있습니다.
이 기사는 인터넷의 다양한 출처에서 편집되었습니다. 이 기사가 유용했기를 바랍니다. 이 기사가 유용하다고 생각되면 공유하십시오. 매우 감사합니다!
사람들이 주제에 대해 자주 검색하는 키워드 ★Galaxy S7 Edge Screen Replacement. Very Easy★ 2017 ★ HD ★
- 동영상
- 공유
- 카메라폰
- 동영상폰
- 무료
- 올리기
★Galaxy #S7 #Edge #Screen #Replacement. #Very #Easy★ #2017 #★ #HD #★
YouTube에서 samsung galaxy s7 edge ekran wymiana 주제의 다른 동영상 보기
주제에 대한 기사를 시청해 주셔서 감사합니다 ★Galaxy S7 Edge Screen Replacement. Very Easy★ 2017 ★ HD ★ | samsung galaxy s7 edge ekran wymiana, 이 기사가 유용하다고 생각되면 공유하십시오, 매우 감사합니다.